Teams
Statsy's Teams feature allows you to collaborate with others and manage multiple users within a single dashboard. This article covers the process of creating a team, inviting users, leaving a team, and managing team settings.
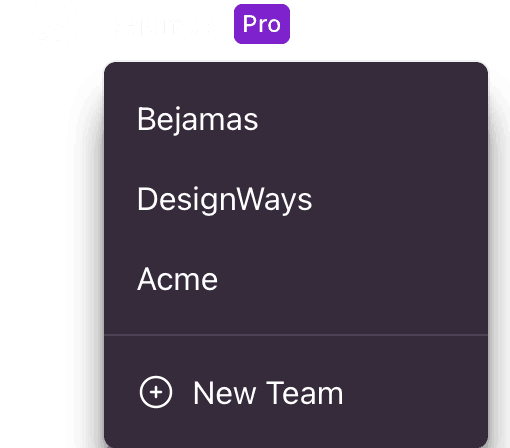
Creating a Team
To create a team in Statsy, click the dropdown menu in the top left corner, then click New Team. Enter a name for your team and click Create Team. You will be redirected to your team dashboard.

Inviting users to the team
To invite users to join your team, go to your team dashboard and click on Team Settings. Navigate to the Members tab and click the Invite Members button. Enter the email addresses of the users you'd like to invite and click Send Invites. Invited users will receive an email invitation with instructions on how to join the team.
Leaving the team
Team Settings
General
- Team name: Update or change the name of your team.
- Team slug: Update or change the slug of your team. The slug is used to identify your team in the URL. For example, if your team's slug is "my-team", your team's URL will be
https://statsy.com/my-team. - Delete Team: Permanently delete your team and all associated data. This action cannot be undone.
Members
Invite Members: Add new members to your team by sending email invitations. Manage Members: View, edit, or remove existing team members and their roles.
Billing
Subscription: Manage your team's subscription plan, including upgrading, downgrading, or canceling the subscription. Payment Method: Update or change the payment method associated with your team's subscription.
Invoices
Billing History: View and download your team's invoice history for record-keeping purposes. By using Statsy's Teams feature, you can efficiently collaborate with others, manage multiple users, and streamline billing and invoicing for your organization.